It is the best way to step into the Arduino world from it’s I/O pins. The LED is the best choice to help you learn I/O pins. What you need to do is connecting the LED module to the Base Shield D ports and download the very basic program to the Arduino, then you can lighten the LED, as your first step into Arduino.
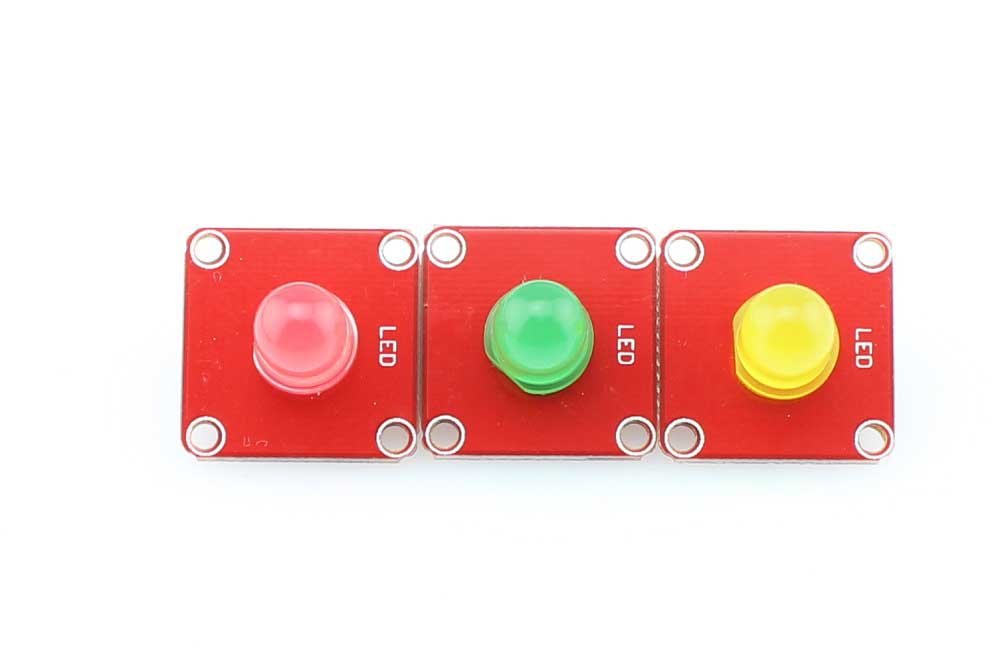
Besides the very basic usage, you can make the LED blink with the frequency you want, thus the brightness with PWM. And actually it is the most popular used for human interface. Elecrow has prepared three colors of the LED, including red,green,and yellow,so you can also create your traffic light or flash LED circuit. If you have any demands on the color, please leave a message when ordering, if not, we will sent you a random color.
Features
- Connection Mode: D(digtal)
- Panel Mount
Part List
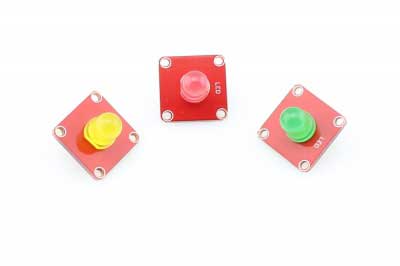
Features
- Crowtail compatible interface
- 3.3V/5V Compatible
- 8mm LED
Specification
| Item | Description |
|---|---|
| LED Control Mode | Digital Pin of Arduino |
| Working Voltage | 5V |
| Supply Mode | Crowtail Interface |
Usage
1. Connect the LED to Base Shield’s digital port 5 with 3pin Crowtail Cable.
2. Plug it onto the Arduino/Crowduino. Connect the board to PC using USB cable.
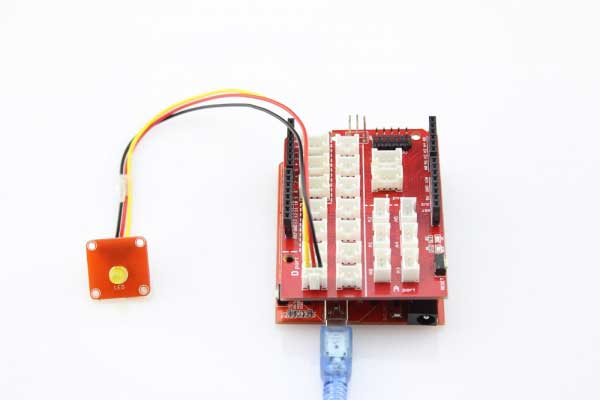
3.Copy the demo code to your sketch, then upload to Arduino or Crowduino board.You will see the LED blink every second.
#define LED 5 //connect LED to digital pin5
void setup() {
 // initialize the digital pin5 as an output.
 pinMode(LED, OUTPUT);
}

void loop() {
 digitalWrite(LED, HIGH);   // set the LED on
 delay(500);               // for 500ms
 digitalWrite(LED, LOW);   // set the LED off
 delay(500);
}
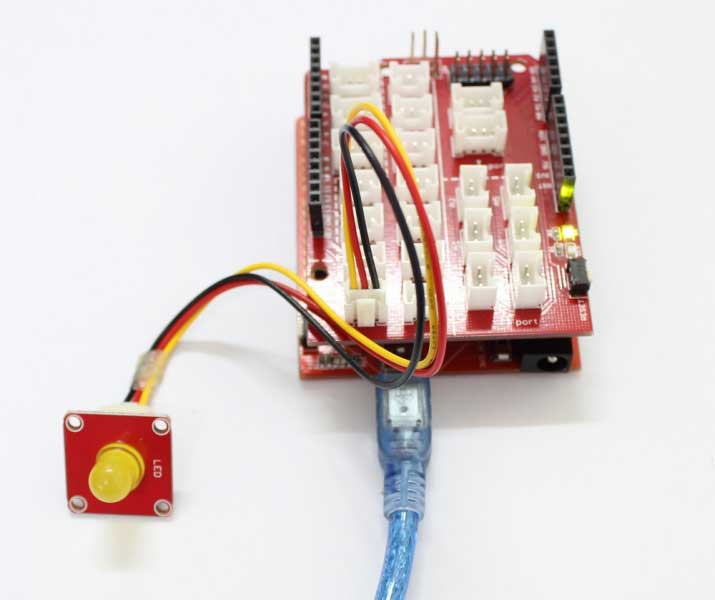
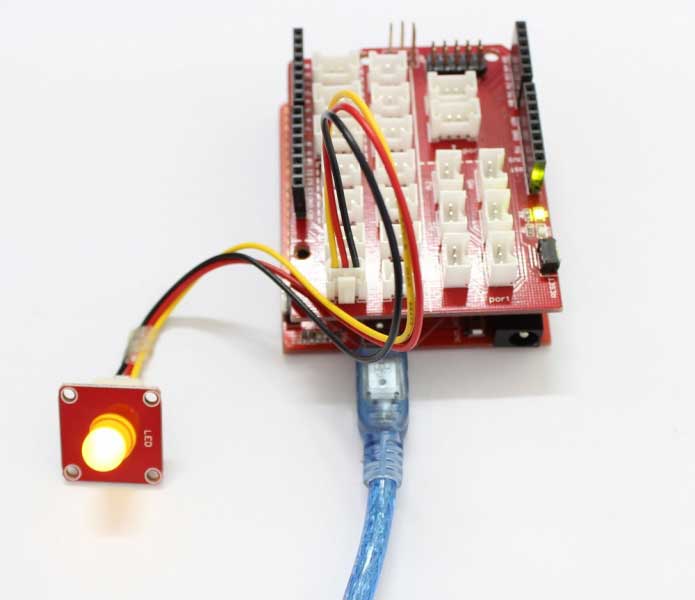
4.Test result:




دیدگاهها
هیچ دیدگاهی برای این محصول نوشته نشده است.